
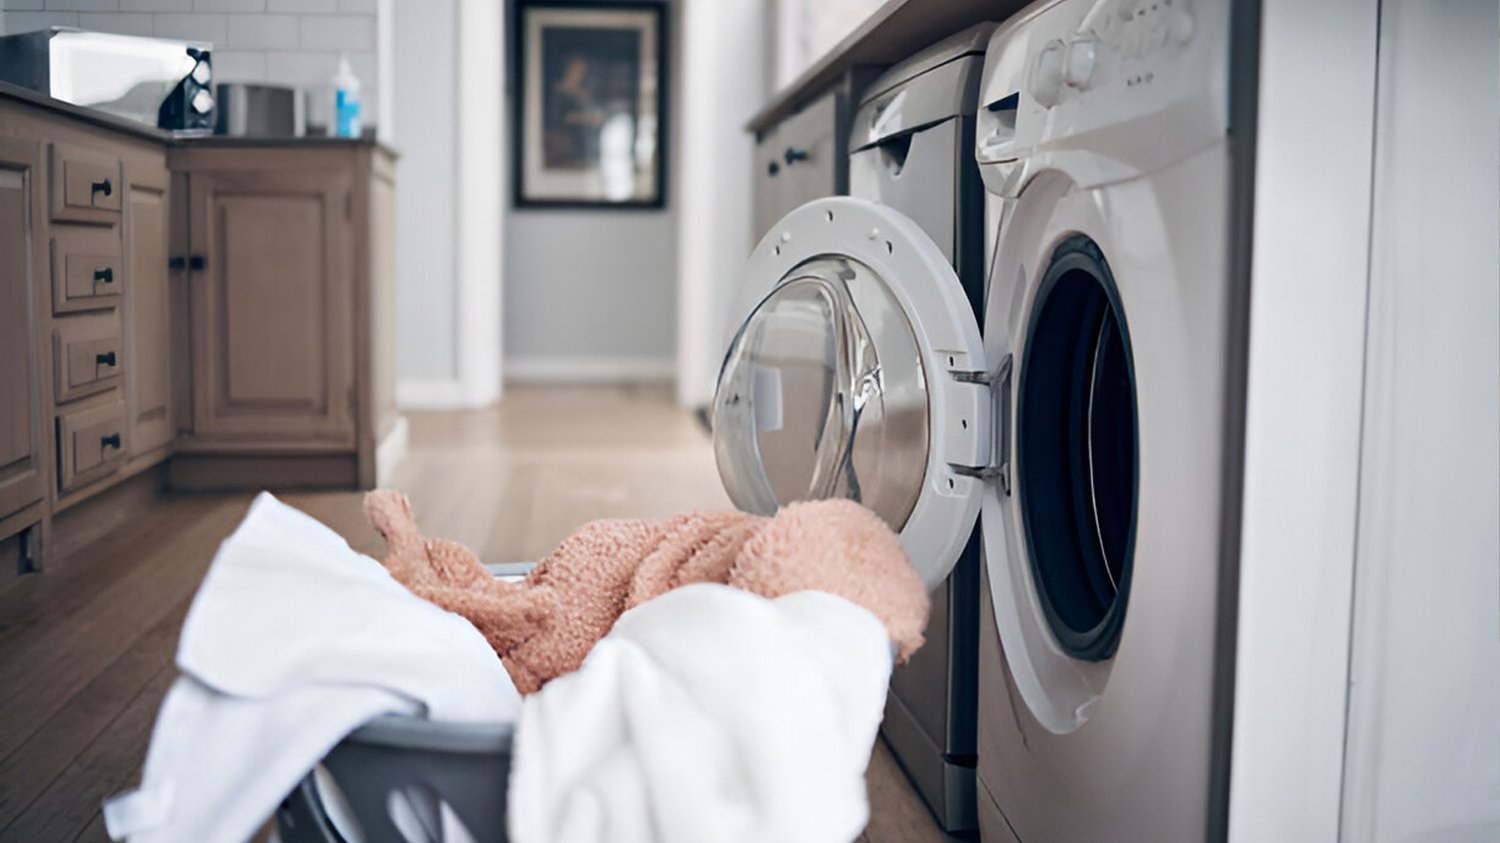
DIY Guide: How to Replace Washing Machine Parts Safely
Washing machines are an essential appliance in every household, but they can break down over time. Repairing your washing machine can be expensive, but you may be able to fix it yourself by replacing the damaged parts. In this DIY guide, we will show you how to replace washing machine parts safely.
Know Your Washing Machine
Before you begin replacing any parts on your washing machine, it is important to have a good understanding of how it works. Read the user manual to familiarize yourself with the machine and its components. This will help you identify the parts that need to be replaced and how to install them safely.
Disconnect the Power and Water Supply
Make sure to unplug your washing machine from the power supply and turn off the water supply valves before you begin any work. This will prevent electrical shocks and water damage. You may also want to move the machine away from the wall to have more space to work.
Identify the Faulty Part
The next step is to identify the part of the washing machine that needs to be replaced. Common washing machine parts include the agitator, motor, pump, lid switch, and hoses. Look for any signs of damage or wear and tear, such as cracks, leaks, or unusual noises. Once you have identified the faulty part, you can order a replacement from a supplier or manufacturer.
Remove the Damaged Part
With the power and water supply disconnected, you can safely remove the damaged part using the appropriate tools. Make sure to follow the manufacturer's instructions for disassembly, and take care not to damage any other parts of the machine. Keep all the screws and bolts in a safe place to use later when installing the new part.
Install the New Part
Once you have removed the damaged part, it's time to install the new one. Make sure to carefully read the manufacturer's instructions for installation, and follow each step carefully. Attach any brackets or bolts as required, ensuring that they are tightened securely. Double-check your work before you plug in the power and turn on the water supply.
Test the Machine
After you've installed the new part, it's important to test the machine to ensure that it is working properly. Turn on the power and run a cycle to check for any leaks, strange noises or other issues. If everything looks good, congratulations, you've successfully replaced a washing machine part!
Dispose of Old Parts Safely
Make sure to dispose of the old, damaged part safely. Don't just throw it in the trash as it may contain hazardous materials. Look for local options for recycling or disposal of electronic waste to ensure that you're not harming the environment.
When to Call a Professional
If you are unsure about any part of the process, or if you are not confident in your ability to safely replace the part, it's best to call a professional. Attempting to repair a washing machine can be dangerous and may result in further damage. Only attempt this DIY guide if you're sure that you can complete it safely and effectively.
Preventive Maintenance
To prolong the life of your washing machine and avoid frequent repairs, it's important to perform regular preventive maintenance. This includes cleaning the machine, checking the hoses and connections, and inspecting for any signs of wear and tear. By doing so, you can catch any issues early and prevent further damage.