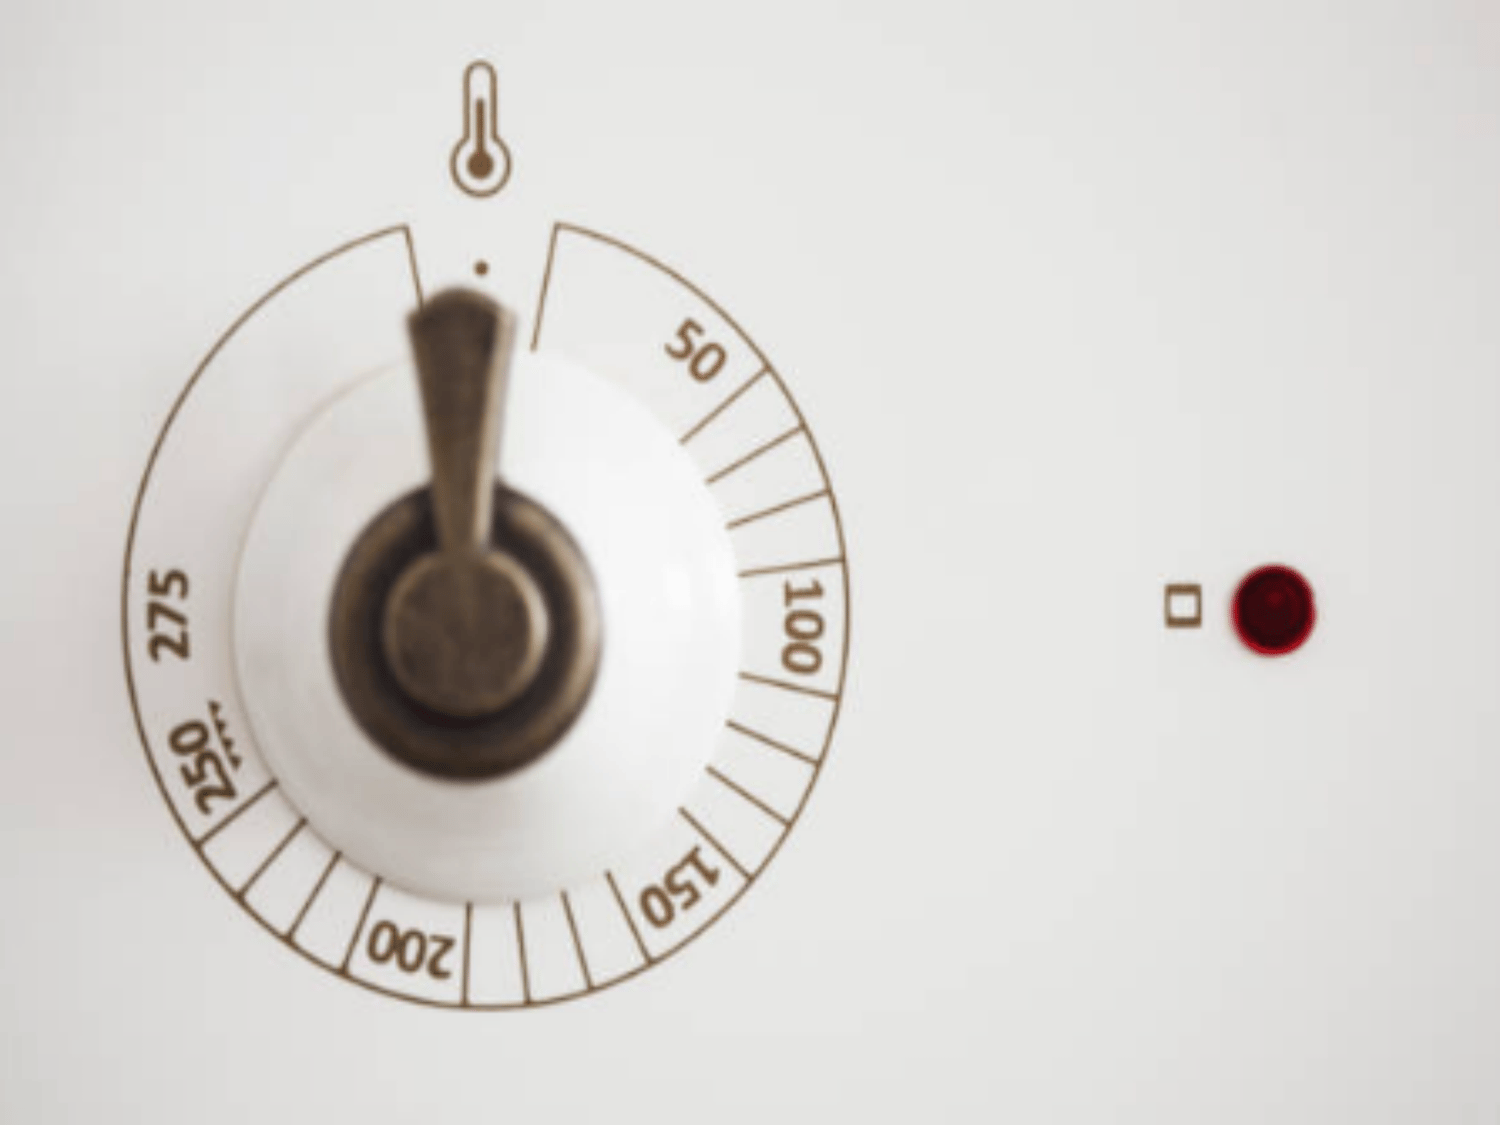
Why Is Oven key switch replacement Important?
When it comes to the functionality of your oven, the key switch plays a crucial role. This small yet significant component allows you to turn your oven on and off, controlling the heating elements and ensuring safe operation. However, like any other part, the key switch can wear out over time due to frequent use or other factors. In this article, we will explore the importance of oven key switch replacement and provide a comprehensive guide on how to replace it effectively.
Signs That Indicate the Need for Oven Key Switch Replacement
Recognizing the signs that indicate a faulty key switch is essential for maintaining the optimal performance of your oven. Here are a few common indications that you may need to replace your oven's key switch:
- Difficulty turning the oven on or off
- Frequent tripping of circuit breakers
- Inconsistent heating or temperature control
- Unresponsive buttons or knobs
Understanding the Oven Key Switch
Before diving into the replacement process, it is important to have a basic understanding of how the oven key switch works. The key switch is a mechanical device that completes or interrupts the electrical circuit when you turn it. It is typically connected to the control panel and allows you to control the power supply to the oven's heating elements.
Gathering the Necessary Tools and Replacement Parts
Before you begin the replacement process, make sure you have all the necessary tools and replacement parts. Here is a list of commonly required items:
- Replacement oven key switch
- Screwdriver (Phillips or flathead, depending on your oven model)
- Wire cutter/stripper
- Electrical tape
- Multimeter (for testing electrical continuity)
Ensuring Safety First
Prior to any repair or replacement, it is crucial to prioritize safety. Make sure to follow these safety precautions:
- Turn off the oven and unplug it from the power source.
- Wear protective gloves to prevent any injuries.
- Work in a well-ventilated area to avoid inhaling any harmful fumes.
Step-by-Step Guide to Oven Key Switch Replacement
Follow these steps to replace your oven's key switch:
- Remove the oven's control panel by unscrewing the screws that hold it in place.
- Locate the key switch, which is typically located behind the control panel.
- Disconnect the wires connected to the key switch by gently pulling them off.
- Using a screwdriver, remove the screws that secure the key switch in place.
- Take out the old key switch and replace it with the new one.
- Secure the new key switch by tightening the screws.
- Reconnect the wires to the corresponding terminals on the new key switch.
- Replace the control panel by screwing it back into place.
- Plug the oven back into the power source.
- Test the new key switch by turning the oven on and off to ensure proper functionality.
When to Seek Professional Help
While replacing an oven key switch can be a DIY task, there are cases where it is best to seek professional help. Consider consulting a qualified technician if:
- You are unsure about the replacement process or lack the necessary tools.
- Your oven is still under warranty, as attempting repairs yourself may void the warranty.
- There are other underlying issues with your oven's functionality.
Conclusion
Oven key switch replacement is a necessary step to ensure the smooth operation of your oven. By recognizing the signs of a faulty key switch and following the step-by-step guide provided in this article, you can effectively replace the key switch and restore your oven's functionality. Remember to prioritize safety and seek professional help when needed. Don't let a faulty key switch ruin your cooking experience - take action and enjoy hassle-free baking and roasting once again!

