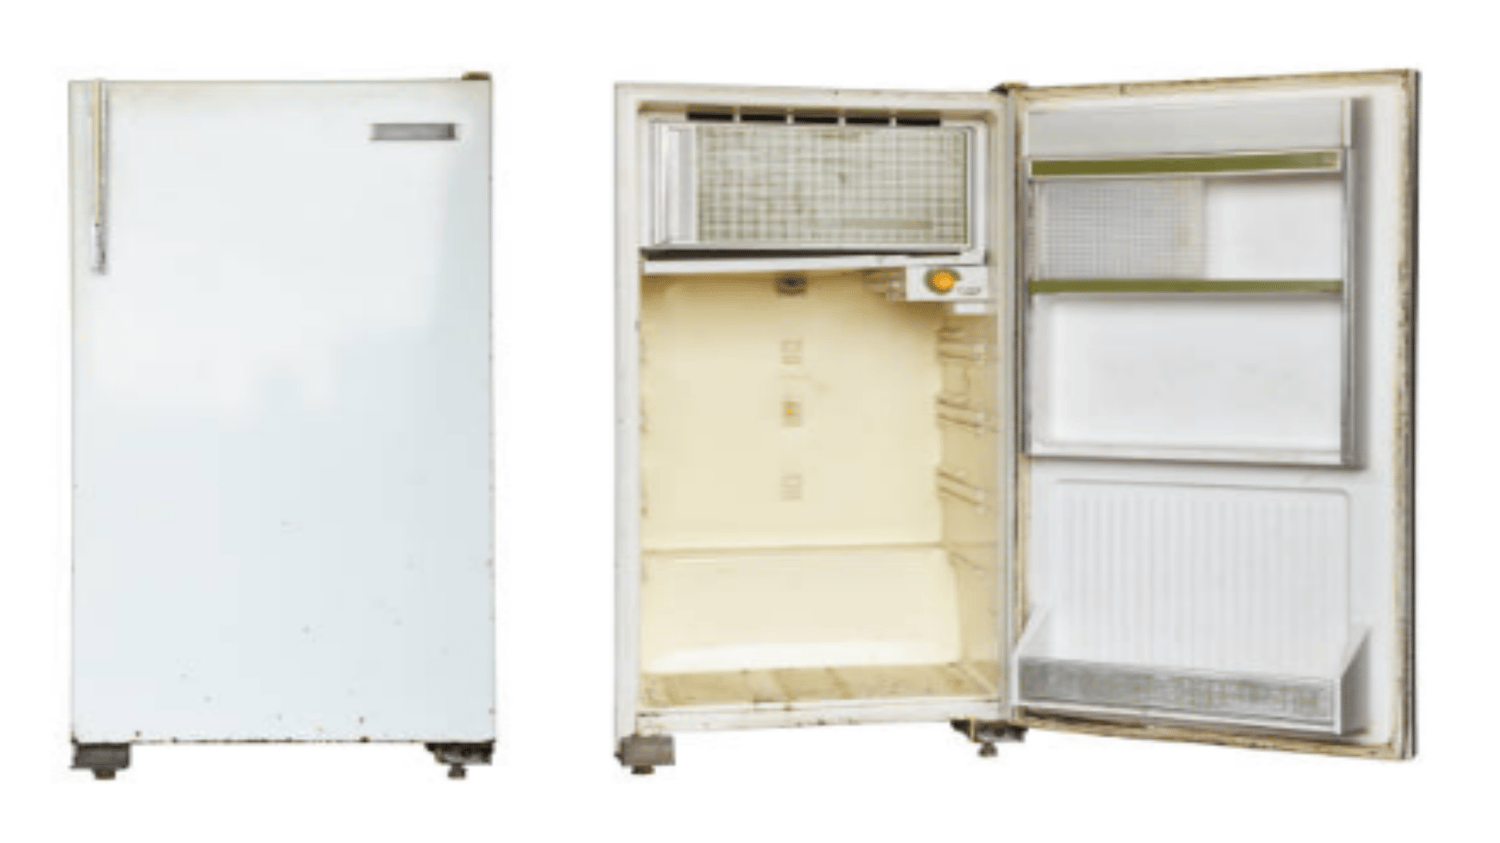
replace refrigerator handles: A Step-by-Step Guide to Upgrade Your Appliance
When it comes to giving your refrigerator a fresh new look, one simple and effective way is to replace the handles. Whether you want to update the style of your fridge or fix a broken handle, this article will guide you through the process of replacing refrigerator handles. From choosing the right handles to the installation steps, we've got you covered. So, let's dive in and discover how you can easily replace refrigerator handles to give your appliance a stylish upgrade.
1. Understanding the Importance of Refrigerator Handles
Refrigerator handles are not just functional components; they also contribute to the overall aesthetic appeal of your appliance. They are one of the most frequently used parts of a fridge, making them prone to wear and tear over time. By replacing the handles, you can not only restore the functionality but also enhance the visual appeal of your refrigerator.
2. Assessing the Need to Replace Refrigerator Handles
Before diving into the process of replacing refrigerator handles, it's important to assess whether you really need to replace them. Ask yourself if the handles are broken, damaged, or outdated. If the handles are loose, wobbly, or difficult to grasp, it's a clear sign that a replacement is necessary. Additionally, if you are planning to revamp the overall look of your kitchen, upgrading the handles can be a cost-effective way to achieve a fresh and modern appearance.
3. Choosing the Right Replacement Handles
When it comes to choosing replacement handles for your refrigerator, there are several factors to consider. First, measure the distance between the center of the handle mounting holes to ensure the new handles will fit properly. Next, consider the style and finish that will complement your refrigerator and kitchen decor. Popular options include stainless steel, brushed nickel, chrome, and matte black. Lastly, make sure to check the compatibility of the handles with your specific refrigerator model, as some handles are designed to fit certain brands or models.
4. Gathering the Tools and Materials
Before you begin the process of replacing refrigerator handles, gather all the necessary tools and materials. This will ensure a smooth and efficient installation process. You will typically need a screwdriver (Phillips or flathead), a tape measure, a pencil or marker, and the new replacement handles. It's also a good idea to have a soft cloth or towel on hand to protect the refrigerator surface during the installation.
5. Removing the Old Handles
The first step in replacing refrigerator handles is to remove the old ones. Start by opening the refrigerator door and locating the screws that secure the handle. Using the appropriate screwdriver, carefully unscrew and remove the screws. Once the screws are removed, gently pull the handle away from the door. Be cautious not to scratch or damage the surface of the refrigerator. Repeat this process for all the handles that need to be replaced.
6. Preparing the New Handles
Before installing the new handles, it's important to prepare them for installation. Check the packaging of the replacement handles for any specific instructions or additional components that may be included. Inspect the handles for any defects or damage. Wipe them clean with a soft cloth to remove any dirt or fingerprints. This will ensure that the new handles look pristine and function properly once installed.
7. Aligning and Marking the Mounting Holes
Now that you have removed the old handles and prepared the new ones, it's time to align and mark the mounting holes. Place the new handle against the refrigerator door in the desired position. Use a tape measure to ensure proper alignment and symmetry. Once you are satisfied with the placement, use a pencil or marker to mark the locations of the mounting holes on the door. This will serve as a guide for the next step of the installation process.
8. Attaching the New Handles
With the mounting hole locations marked on the refrigerator door, you can now proceed to attach the new handles. Position the handle against the door, aligning the marked holes with the mounting holes on the handle. Insert the screws provided with the replacement handles and tighten them securely using the appropriate screwdriver. Be careful not to overtighten the screws, as this may damage the handle or the door. Repeat this process for all the handles you are replacing.
9. Testing and Adjusting the New Handles
Once all the new handles are attached, it's crucial to test them for proper functionality. Open and close the refrigerator doors to ensure that the handles are securely fastened and provide a comfortable grip. If any adjustments are needed, such as tightening or loosening the screws, make them accordingly. Take your time to ensure that the handles are properly installed and aligned before moving on to the final step.
10. Enjoying Your Upgraded Refrigerator
Congratulations! You have successfully replaced the refrigerator handles and transformed the look of your appliance. Take a step back and admire your newly upgraded refrigerator. Not only does it look more stylish and modern, but it also functions optimally with the new handles. Enjoy the enhanced aesthetic appeal and convenience that the replacement handles bring to your kitchen.

