
Safe DIY Replacement of Washing Machine Parts: Everything You Need to Know
Washing machines are a vital part of every household. They help you keep your clothes clean and your life organized. However, over time, parts of your washing machine may wear out or break down. You may be tempted to call a professional to fix it, but this can be expensive. A budget-friendly and safe option is to replace the parts yourself. In this article, we will guide you through the process of Safe DIY Replacement of Washing Machine Parts.
1. Know Your Washing Machine
The first step to a safe DIY replacement of washing machine parts is to know your washing machine. Always read the owner's manual and understand how it works. Identify the brand and model, and take note of the part that needs to be replaced. This will ensure you choose the correct part and replacement method.
2. Turn Off Power and Water Supply
Before you start replacing the parts, remember to turn off the power and water supply. Unplug the washing machine and turn off the circuit breaker. Then, turn off the water supply by shutting the valve that is connected to your washing machine.
3. Identify the Faulty Part
If your washing machine is not functioning correctly, the first step is to identify the faulty part. Check for leaks, strange noises, or any visible damage. Once you identify the problematic part, write down the brand, model, and part number.
4. Buy the Correct Part
Once you have identified the faulty part, buy the correct replacement part. Make sure to get the same brand and model number. You can order the replacement part online or buy it from your local hardware store.
5. Gather the Necessary Tools
Gather all the necessary tools required to replace the part. This may include a wrench, pliers, screwdriver, or any other relevant tools. Make sure to read the owner's manual to identify the necessary tools.
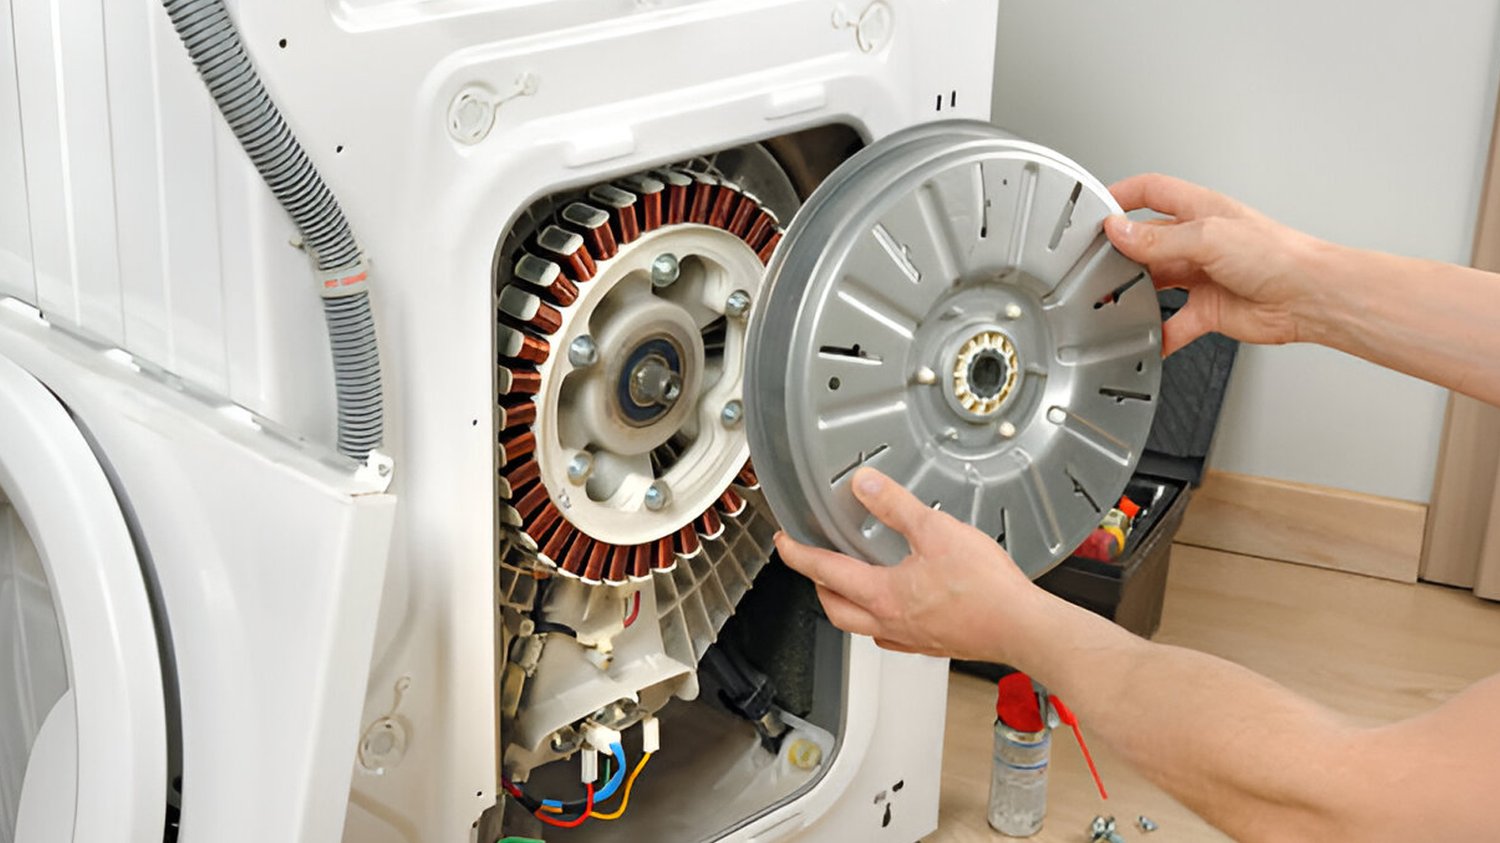
6. Remove the Old Part
Before you replace the faulty part, remove the old part. This may involve unscrewing some screws, unclipping the part or working with wires. Keep all the screws, bolts, and nuts in a safe place since you will need to use them to install the new part.
7. Install the New Part
Once you have removed the old part, install the new part. Make sure to follow the instructions and use the necessary tools. Tighten all screws, bolts, and nuts to ensure the part is secure.
8. Reconnect the Power Supply
Once you have installed the new part, reconnect the power supply and water valve. Plug the washing machine back in and switch on the circuit breaker. Then, turn on the water supply and make sure there are no leaks.
9. Test the Washing Machine
Before using the washing machine, take it for a test run. Turn on the washing machine and run it for a few minutes. Listen for strange noises or vibrations and make sure it is running correctly.
10. Safety Precautions
Always take safety precautions while replacing parts of your washing machine. Turn off the power and water supply before starting work, wear protective gloves, and work in a well-lit and ventilated area. In case of doubt, call a professional to help.